Androidの断片化リスト
基本的に、フラグメントのリストは、破片の項目のリストを作成するために使用され
例
この例では、ArrayAdapterの破片に基づいてリストを作成する方法について説明します。 私たちが始めるには、次の手順に従ってみましょう:
| ステップ | 説明 |
|---|---|
| 1 | 一覧フラグメント、パッケージ名cn.uprogrammer.listfragmentという名前のAndroidアプリケーションを作成するには、Android Studioを使用 |
| 2 | でのres /値/ string.xmlを新しい文字列定数を追加し、文字列のファイルを変更します |
| 3 | 作品のリストを定義するためのres /レイアウトにレイアウトlist_fragment.xmlという名前のファイルを作成し、activity_main.xmlに追加 |
| 4 | onCreateView()、onActivityCreated()とOnItemClickListener()が含まれているMyListFragment.javaファイルを作成します。 |
| 5 | アプリケーションを実行し、アプリケーションに加えられた変更の結果を確認するためにAndroidのエミュレータを起動します。 |
あなたはstring.xmlを指定解像度でコーディング、初期化文字列定数を開始する前に/下にディレクトリを値。
<?xml version="1.0" encoding="utf-8"?>
<resources>
<string name="app_name">listfragment</string>
<string name="action_settings">Settings</string>
<string name="hello_world">Hello world!</string>
<string name="title_activity_main">List Fragment Demo</string>
<string name="imgdesc">imgdesc</string>
<string-array name="Planets">
<item>Sun</item>
<item>Mercury</item>
<item>Venus</item>
<item>Earth</item>
<item>Mars</item>
<item>Jupiter</item>
<item>Saturn</item>
<item>Uranus</item>
<item>Neptune</item>
</string-array>
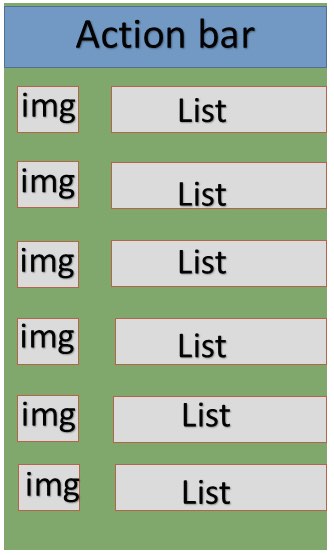
</resources>以下は、線形レイアウトや破片ラベルが含まれているのres /レイアウト/ activity_main.xmlファイルの内容です。
<?xml version="1.0" encoding="utf-8"?>
<LinearLayout
    xmlns:android="http://schemas.android.com/apk/res/android"
    android:layout_width="match_parent"
    android:layout_height="match_parent"
    android:orientation="vertical" >

    <fragment
        android:id="@+id/fragment1"
        android:name="cn.uprogrammer.listfragment.MyListFragment"
        android:layout_width="match_parent"
        android:layout_height="match_parent" />

</LinearLayout>
以下は、線形レイアウト、リストビューとのTextViewが含まれているのres /レイアウト/ list_fragment.xmlファイルの内容です。
<?xml version="1.0" encoding="utf-8"?>
<LinearLayout
    xmlns:android="http://schemas.android.com/apk/res/android"
    android:layout_width="match_parent"
    android:layout_height="match_parent"
    android:orientation="vertical" >

    <ListView
        android:id="@android:id/list"
        android:layout_width="match_parent"
        android:layout_height="wrap_content" >
    </ListView>

    <TextView
        android:id="@android:id/empty"
        android:layout_width="match_parent"
        android:layout_height="wrap_content" >
    </TextView>

</LinearLayout>
以下は、SRC / cn.uprogrammer.listfragment / MyListFragment.javaファイルの内容です。 あなたがコーディングを開始する前に、次のようにいくつかの手順を実行する必要があります。
- ListFragmentから継承MyListFragmentクラスを作成します。
- onCreateView()メソッドでは、上記で定義されたlist_fragmentのXMLレイアウトを使用してビューを充填します。
- onActivityCreated()メソッドでは、ArrayAdapterを作成するために定義された文字列R.array.planet資源string.xmlを指定の配列、およびアダプタを使用すると、ビューを一覧表示するように設定され、項目のリストは、リスナーをクリックして設定されています
- OnItemClickListener()メソッドでは、アイテムの位置を表示するトーストメッセージによってクリックされます
package cn.uprogrammer.listfragment;
import android.app.ListFragment;
import android.annotation.SuppressLint;
import android.app.ListFragment;
import android.os.Bundle;
import android.view.LayoutInflater;
import android.view.View;
import android.view.ViewGroup;
import android.widget.AdapterView;
import android.widget.AdapterView.OnItemClickListener;
import android.widget.ArrayAdapter;
import android.widget.Toast;
public class MyListFragment extends ListFragment implements OnItemClickListener {
@Override
public View onCreateView(LayoutInflater inflater, ViewGroup container, Bundle savedInstanceState) {
View view = inflater.inflate(R.layout.list_fragment, container, false);
return view;
}
@Override
public void onActivityCreated(Bundle savedInstanceState) {
super.onActivityCreated(savedInstanceState);
ArrayAdapter adapter = ArrayAdapter.createFromResource(getActivity(), R.array.Planets, android.R.layout.simple_list_item_1);
setListAdapter(adapter);
getListView().setOnItemClickListener(this);
}
@Override
public void onItemClick(AdapterView<?> parent, View view, int position,long id) {
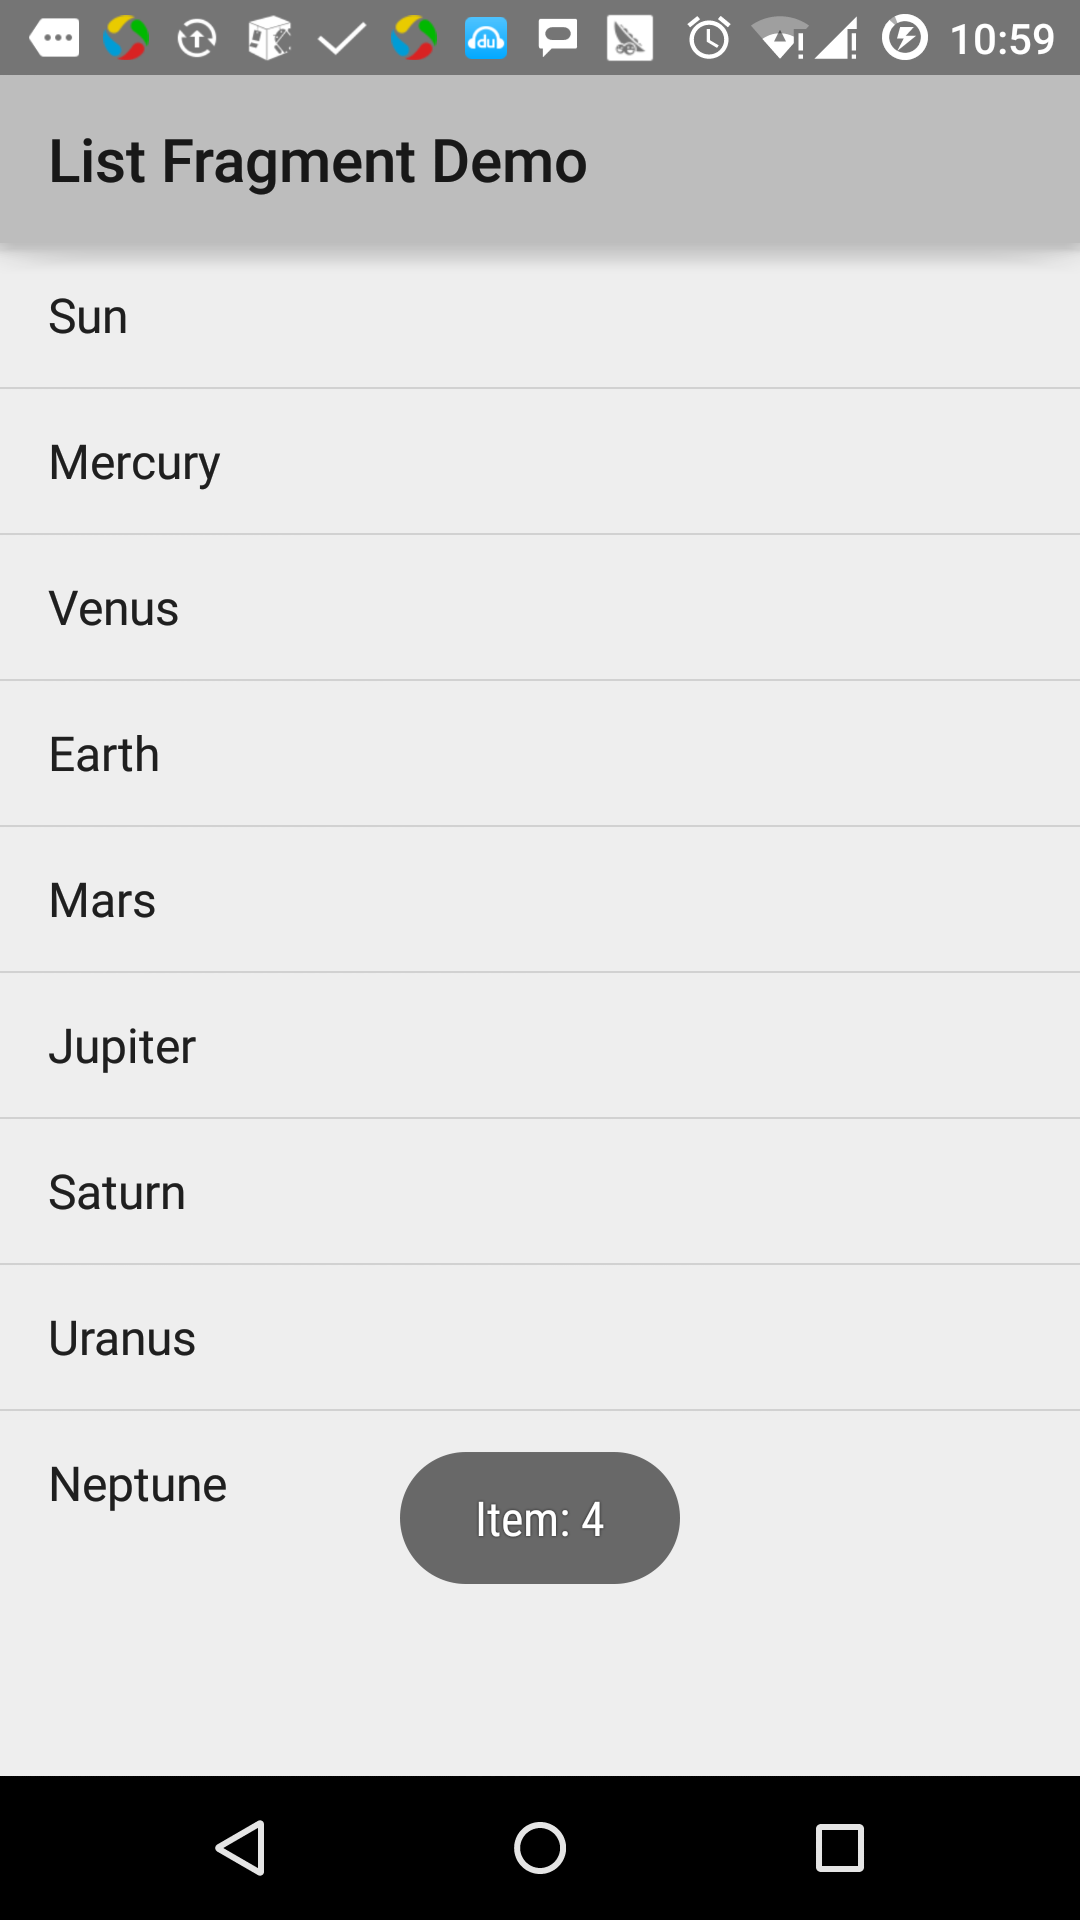
Toast.makeText(getActivity(), "Item: " + position, Toast.LENGTH_SHORT).show();
}
}次のコードは、コンテンツMainActivity.javaです。
package cn.uprogrammer.listfragment;

import android.app.Activity;
import android.os.Bundle;

public class MainActivity extends Activity {

    @Override
    protected void onCreate(Bundle savedInstanceState) {
        super.onCreate(savedInstanceState);
        setContentView(R.layout.activity_main);
    }
}
以下は、AndroidManifest.xmlファイルの内容です:
<?xml version="1.0" encoding="utf-8"?>
<manifest xmlns:android="http://schemas.android.com/apk/res/android"
    package="cn.uprogrammer.listfragment">

    <application
        android:icon="@drawable/ic_launcher"
        android:label="@string/app_name"
        android:theme="@style/AppTheme" >

        <activity
            android:name=".MainActivity"
            android:label="@string/title_activity_main" >

            <intent-filter>
                <action android:name="android.intent.action.MAIN" />
                <category android:name="android.intent.category.LAUNCHER"/>
            </intent-filter>

        </activity>

    </application>
</manifest>
ちょうど変更されたリストフラグメントのアプリケーションを実行してみましょう。 私は、インストール環境中にAVDを作成したと仮定します。 アクティブなファイルでプロジェクトを開き、ツールバーのをクリック  アンドロイドStudioでアプリケーションを実行するためのアイコン。 Androidのメーカーは、AVD上でアプリケーションをインストールし、それを開始します。 すべてがうまくいけば、次のようにエミュレータウィンドウに表示されます。