Androidのインテント(意図)とフィルター(フィルター)
Androidの目的は、動作の抽象記述が実行されます。 これは、startActivity活動によって開始することができ、broadcastIntentは利害無線受信機のコンポーネントにブロードキャストを送信するには、STARTSERVICEバックエンドサービスと通信するために(意図)またはbindService(インテント、ServiceConnection、int型)。
意図自体(インテントオブジェクト)が実行される操作の抽象記述を保持している受動的データ構造です。
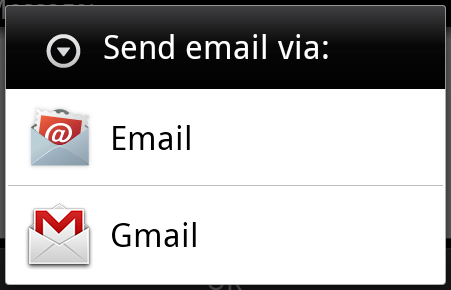
たとえば、あなたがアクティブなを持って、メールクライアントを開き、あなたのAndroidデバイスにメールを送ってください。 この目的のために、あなたは、Androidの意図プロセッサに適したセレクタでACTION_SEND活動を送信する必要があります。 指定されたセレクタは、ユーザーが自分のメッセージデータを送信する方法を決定させるための適切なインターフェースを与えられました。
Intent email = new Intent(Intent.ACTION_SEND, Uri.parse("mailto:"));
email.putExtra(Intent.EXTRA_EMAIL, recipients);
email.putExtra(Intent.EXTRA_SUBJECT, subject.getText().toString());
email.putExtra(Intent.EXTRA_TEXT, body.getText().toString());
startActivity(Intent.createChooser(email, "Choose an email client from..."));
電子メール活動を開くためには、上記のメソッドを呼び出すためのStartActivity構文は、コードの実行結果は次のようになります。
たとえば、あなたがアクティブなを持っている、あなたは、ブラウザを介してAndroidデバイス上のURLを開く必要があります。 この目的のために、お使いのブラウザで指定されたURLを開くには、Androidのプロセッサの意図にイベントACTION_WEB_SEARCH意思を送ります。 一連の活動を分析し、この場合、Webブラウザの活動に、あなたが意図する最も適切なものの活動を選択することにより、プロセッサの意図。 プロセッサの意図は、Webブラウザにウェブページのアドレスを渡すと、Webブラウザのアクティビティを開きます。
String q = "http://www.uprogrammer.cn";
Intent intent = new Intent(Intent.ACTION_WEB_SEARCH );
intent.putExtra(SearchManager.QUERY, q);
startActivity(intent);
上記の例では、Androidの「www.uprogrammer.cn「検索エンジンを見つけ、キーワードの活動の結果を与えます。
各コンポーネントについて - 活動、サービス、ブロードキャストレシーバは意図を伝えるために独立したメカニズムを持っています。
| いいえ。 | メソッドと説明 |
|---|---|
| 1 | Context.startActivity():意図は、新しいアクティビティを開始するか、新しい何かをする、既存の活性を有するために使用されるメソッドに渡されます。 |
| 2 | Context.startService():メソッドに渡された意図、永続的なサービスへのサービス、または新しい情報を初期化します。 |
| 3 | Context.sendBroadcast():メソッドに渡されたインテントは、情報はすべての利害放送受信機に配信されます。 |
インテントオブジェクト
インテントオブジェクトは、Androidシステムが情報を受信すると、コンポーネントのための情報のパッケージは意図を受け取るです。
インテントオブジェクトは、あなたが通信したり実行したいのかに応じて、次のコンポーネントが含まれています。
アクション(行動)
それは、文字列として表現され、オブジェクトの目的の一部であることです。 インテント放送、イベントでのアクションは、報告されます。 アクションは、主に意思の残りの編成方法を決定します。 インテントクラスは別の意図に対応したアクション定数のセットを定義します。 ここでAndroidのインテント標準アクションのリストが。
運動中のインテントオブジェクトは、SetActionは()メソッドによって設定することができ、getActionによって()メソッドは、読み取ります。
データ(データ)
フィルタ仕様の意図にデータを追加します。 この仕様は、ただ一つのデータ・タイプ(例えば、細胞型属性として)、URI、またはデータ型とURIとの両方を含むことができます。 URIによって異なる部分の属性を指定します。
これらの属性は、URLの形式を指定するオプションですが、また、互いに独立しています -
- 意図は、フィルタモードを指定されていない場合は、他のすべてのURIプロパティは無視されます。
- あなたはフィルタのホストを指定しない場合は、ポート属性、およびパス属性は無視されます。
setData()メソッドだけはsetType()、URIデータを指定することができる唯一のsetDataAndType(、メタデータの種類を指定することができます)を同時にURIおよび要素タイプを指定することができます。 getData()により、URIは、のgetTypeによってタイプを読み取るために()を読むには。
ここでアクション/データセットの例をいくつか示します -
| いいえ。 | アクション/データと説明 |
|---|---|
| 1 | ACTION_VIEW内容://連絡先/人/ 1:1は、ユーザID情報に表示されます。 |
| 2 | ACTION_DIAL内容://連絡先/人/ 1:表示の電話ダイヤラ、およびユーザデータ1を取り込みます。 |
| 3 | ACTION_VIEW電話:123:携帯電話のダイヤラを表示し、指定された番号を記入してください。 |
| 4 | ACTION_DIAL TEL:123:携帯電話のダイヤラを表示し、指定された番号を記入してください。 |
| 5 | ACTION_EDIT内容://連絡先/人/ 1:ユーザID情報の編集1。 |
| 6 | ACTION_VIEW内容://連絡先/人/:表示するには、ユーザーのリストを表示します。 |
| 7 | ACTION_SET_WALLPAPER:壁紙の表示設定を選択します。 |
| 8 | ACTION_SYNC:android.intent.action.SYNC:データ、デフォルト値を同期させます |
| 9 | ACTION_SYSTEM_TUTORIAL:オープンプラットフォームの定義チュートリアル(またはデフォルトの開始チュートリアルチュートリアル) |
| 10 | ACTION_TIMEZONE_CHANGED:時間帯を通知変更されます |
| 11 | ACTION_UNINSTALL_PACKAGE:デフォルトのアンインストーラを実行します |
カテゴリ
カテゴリは、意図のオプション部分です意図を処理すべきコンポーネントの種類に関する追加情報を含む文字列です。 addCategoryオブジェクトカテゴリを追加することを意図して、()メソッド、カテゴリを追加する前に削除するremoveCategory()メソッド、getCategories()は意図オブジェクトカテゴリにすべてのセットを取得します。 ここでAndroidのインテント標準カテゴリのリストが。
あなたは私たちが適切な活動を選択するために、対応する意思によってカテゴリを使用する方法を理解するには、次の項にインテントフィルタを表示することができます。
追加データ
これは、本明細書に記載の鍵の追加情報への意図に対処するためのアセンブリに渡されます。 読むためputExtrasによってセット()、getExtras()メソッド。 ここでAndroidのインテント標準追加データリストが。
マーク
これらのタグは、どのように治療を開始した後、どのように活動を開始するために、Androidのシステムを示す意図のオプション部分です。
| いいえ。 | タグと説明 |
|---|---|
| 1 | FLAG_ACTIVITY_CLEAR_TASK:意図した場合、およびContext.startActivityを通過し、このタグは、イベントが始まる前に、アクティビティに関連付けられているすべての既存のタスクがクリアされる原因になります。 活動は、すべての古い活動が終了し、空のタスクのルートになります。 マークの使用は、FLAG_ACTIVITY_NEW_TASKと組み合わせることができます。 |
| 2 | FLAG_ACTIVITY_CLEAR_TOP:このフラグが設定されている場合、イベントは現在実行中のタスクで起動されます。 この病気は、新しいアクティビティインスタンスを起動しない新しいインテントは既存の(現在は上部の)活動に配信されるように、その上にすべての活動は、この意図をオフになっています。 |
| 3 | FLAG_ACTIVITY_NEW_TASK:このタグは、一般的な動作のような活動 "スターター"スタイルのために使用されます。データの実行をユーザーに提供するためには、独立して完成した、独立した子供たちの完全な活動を開始することができます。 |
コンポーネント名
コンポーネントオブジェクト名は、オプションのフィールドの代表的な活動、サービスまたは放送受信機クラスです。 設定した場合、インテントオブジェクトは、それ以外の場合は、Androidの他の意図、その他の情報は、適切なターゲットを見つけるために設計されたクラスのインスタンスを実装するために渡されます。 ()getComponentを介して取得、設定するためにsetComponent()、setClass()やsetClassName()によってコンポーネント名。
意図の種類
Androidのは、意思の2種類をサポートしています。
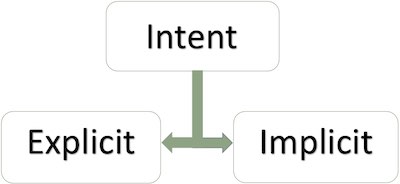
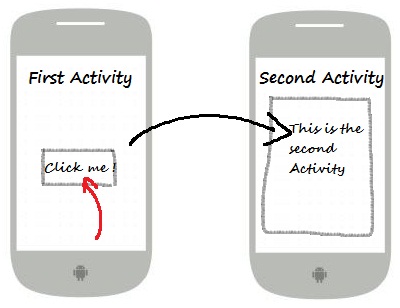
明示的な意図
明示的な意思の内側の世界はあなたが別のアクティビティにアクティビティを接続する必要がある場合、我々は意思を表示することができ、アプリケーションを接続するには、次の図は、第二の活動にボタン最初のアクティビティ]をクリックして接続を示しています。
兄弟活動を開始開始するには、このような子会社の活動や活動として - 名前でコンポーネントをターゲットの目的は、一般的に内部情報を適用するために使用します。 例えば:
// 通过指定类名的显式意图
Intent i = new Intent(FirstActivity.this, SecondAcitivity.class);

// 启动目标活动
startActivity(i);
暗黙の意図
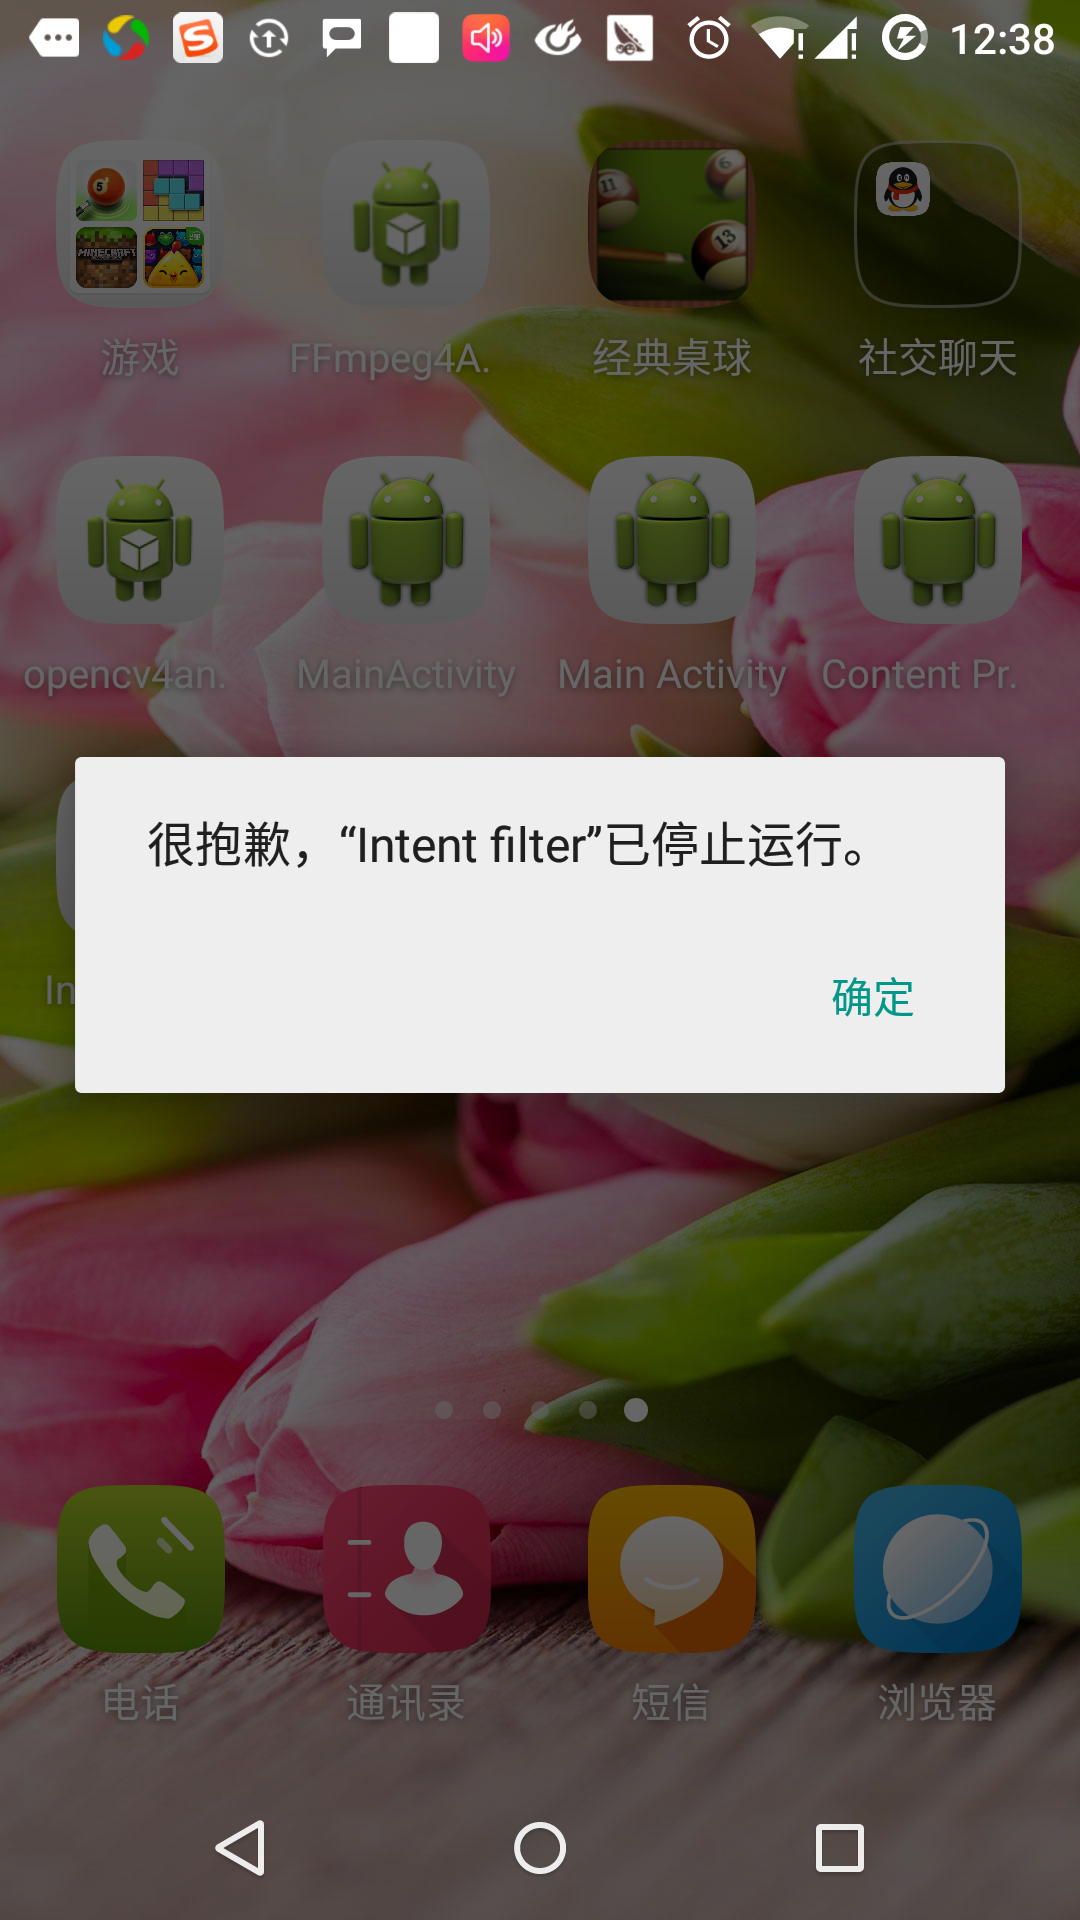
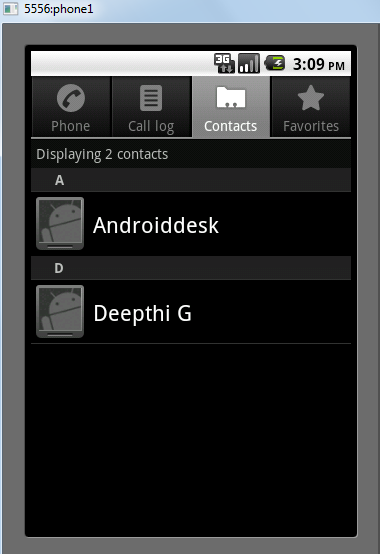
これらの目標の意図は、ドメインコンポーネント名が空白で、名前を付けないでください。 暗黙インテントは、しばしば、他のアプリケーションのコンポーネントを活性化するために使用されます。 例えば:
Intent read1=new Intent();
read1.setAction(android.content.Intent.ACTION_VIEW);
read1.setData(ContactsContract.Contacts.CONTENT_URI);
startActivity(read1);
上記のコードは次のような結果が与えられます。
ターゲットコンポーネントが意図受け取り、あなたがソースコンポーネントによって送信された追加データを取得するためにgetExtras()メソッドを使用することができます。 例えば:
// 在代码中的合适位置获取包对象
Bundle extras = getIntent().getExtras();

// 通过键解压数据
String value1 = extras.getString("Key1");
String value2 = extras.getString("Key2");
例
次の例では、内蔵のアプリケーションのAndroidのさまざまな機能を起動するためのAndroid意思の使用を示しています。
| ステップ | 説明 |
|---|---|
| 1 | インテントフィルタという名前のAndroidアプリケーションを作成するには、Android StudioのIDEを使用して、cn.uprogrammer.intentfilterという名前のパッケージ。 プロジェクトを作成すると、そのターゲットSDKを確保し、AndroidのSDKの最新バージョンでコンパイルする高度なAPIを使用します。 |
| 2 | SRC / cn.uprogrammer.intentfilter / MainActivity.javaファイルを変更し、コードに対応する二つのボタンに2つのリスナーを定義して、「スタート・ブラウザ」と「スタートコール」を追加 |
| 3 | 解像度/レイアウト/ activity_main.xmlレイアウトファイルを変更し、オンラインレイアウトは、3ボタンを追加。 |
| 4 | アプリケーションを実行し、アプリケーションに加えられた変更の結果を確認するためにAndroidのエミュレータを起動します。 |
以下は、SRC / cn.uprogrammer.intentfilter / MainActivity.javaファイルの内容です:
package cn.uprogrammer.intentfilter;

import android.content.Intent;
import android.net.Uri;
import android.support.v7.app.ActionBarActivity;
import android.os.Bundle;
import android.view.Menu;
import android.view.MenuItem;
import android.view.View;
import android.widget.Button;


public class MainActivity extends ActionBarActivity {
    Button b1,b2;

    @Override
    protected void onCreate(Bundle savedInstanceState) {
        super.onCreate(savedInstanceState);
        setContentView(R.layout.activity_main);

        b1=(Button)findViewById(R.id.button);
        b1.setOnClickListener(new View.OnClickListener() {

            @Override
            public void onClick(View v) {
                Intent i = new Intent(android.content.Intent.ACTION_VIEW, Uri.parse("http://www.uprogrammer.cn"));
                startActivity(i);
            }
        });

        b2=(Button)findViewById(R.id.button2);
        b2.setOnClickListener(new View.OnClickListener() {
            @Override
            public void onClick(View v) {
                Intent i = new Intent(android.content.Intent.ACTION_VIEW,Uri.parse("tel:9510300000"));
                startActivity(i);
            }
        });
    }

    @Override
    public boolean onCreateOptionsMenu(Menu menu) {
        getMenuInflater().inflate(R.menu.menu_main, menu);
        return true;
    }

    @Override
    public boolean onOptionsItemSelected(MenuItem item) {
        // Handle action bar item clicks here. The action bar will
        // automatically handle clicks on the Home/Up button, so long
        // as you specify a parent activity in AndroidManifest.xml.

        int id = item.getItemId();

        //noinspection SimplifiableIfStatement
        if (id == R.id.action_settings) {
            return true;
        }
        return super.onOptionsItemSelected(item);
    }
}
ここでのres /レイアウト/ activity_main.xmlファイルの内容は次のとおりです。
<RelativeLayout xmlns:android="http://schemas.android.com/apk/res/android"
    xmlns:tools="http://schemas.android.com/tools"
    android:layout_width="match_parent"
    android:layout_height="match_parent"
    android:paddingLeft="@dimen/activity_horizontal_margin"
    android:paddingRight="@dimen/activity_horizontal_margin"
    android:paddingTop="@dimen/activity_vertical_margin"
    android:paddingBottom="@dimen/activity_vertical_margin"
    tools:context=".MainActivity">

    <TextView
        android:id="@+id/textView1"
        android:layout_width="wrap_content"
        android:layout_height="wrap_content"
        android:text="意图实例"
        android:layout_alignParentTop="true"
        android:layout_centerHorizontal="true"
        android:textSize="30dp" />

    <TextView
        android:id="@+id/textView2"
        android:layout_width="wrap_content"
        android:layout_height="wrap_content"
        android:text="www.uprogrammer.cn"
        android:textColor="#ff87ff09"
        android:textSize="30dp"
        android:layout_below="@+id/textView1"
        android:layout_centerHorizontal="true" />

    <ImageButton
        android:layout_width="wrap_content"
        android:layout_height="wrap_content"
        android:id="@+id/imageButton"
        android:src="@drawable/ic_launcher"
        android:layout_below="@+id/textView2"
        android:layout_centerHorizontal="true" />

    <EditText
        android:layout_width="wrap_content"
        android:layout_height="wrap_content"
        android:id="@+id/editText"
        android:layout_below="@+id/imageButton"
        android:layout_alignRight="@+id/imageButton"
        android:layout_alignEnd="@+id/imageButton" />

    <Button
        android:layout_width="wrap_content"
        android:layout_height="wrap_content"
        android:text="启动浏览器"
        android:id="@+id/button"
        android:layout_alignTop="@+id/editText"
        android:layout_alignRight="@+id/textView1"
        android:layout_alignEnd="@+id/textView1"
        android:layout_alignLeft="@+id/imageButton"
        android:layout_alignStart="@+id/imageButton" />

    <Button
        android:layout_width="wrap_content"
        android:layout_height="wrap_content"
        android:text="启动电话"
        android:id="@+id/button2"
        android:layout_below="@+id/button"
        android:layout_alignLeft="@+id/button"
        android:layout_alignStart="@+id/button"
        android:layout_alignRight="@+id/textView2"
        android:layout_alignEnd="@+id/textView2" />
</RelativeLayout>
ここでは、2つの新しい定数を定義するのres /値/文字列/ XMLの内容が、あります。
<?xml version="1.0" encoding="utf-8"?>
<resources>
   <string name="app_name">Intent filter</string>
   <string name="action_settings">Settings</string>
</resources>
以下は、デフォルトのAndroidManifest.xmlの内容です:
<?xml version="1.0" encoding="utf-8"?>
<manifest xmlns:android="http://schemas.android.com/apk/res/android"
package="cn.uprogrammer.intentfilter"
android:versionCode="1"
android:versionName="1.0" >
<uses-sdk
android:minSdkVersion="8"
android:targetSdkVersion="22" />
<application
android:allowBackup="true"
android:icon="@drawable/ic_launcher"
android:label="@string/app_name"
android:theme="@style/Base.Theme.AppCompat" >
<activity
android:name="cn.uprogrammer.intentfilter.MainActivity"
android:label="@string/app_name" >
<intent-filter>
<action android:name="android.intent.action.MAIN" />
<category android:name="android.intent.category.LAUNCHER" />
</intent-filter>
</activity>
</application>
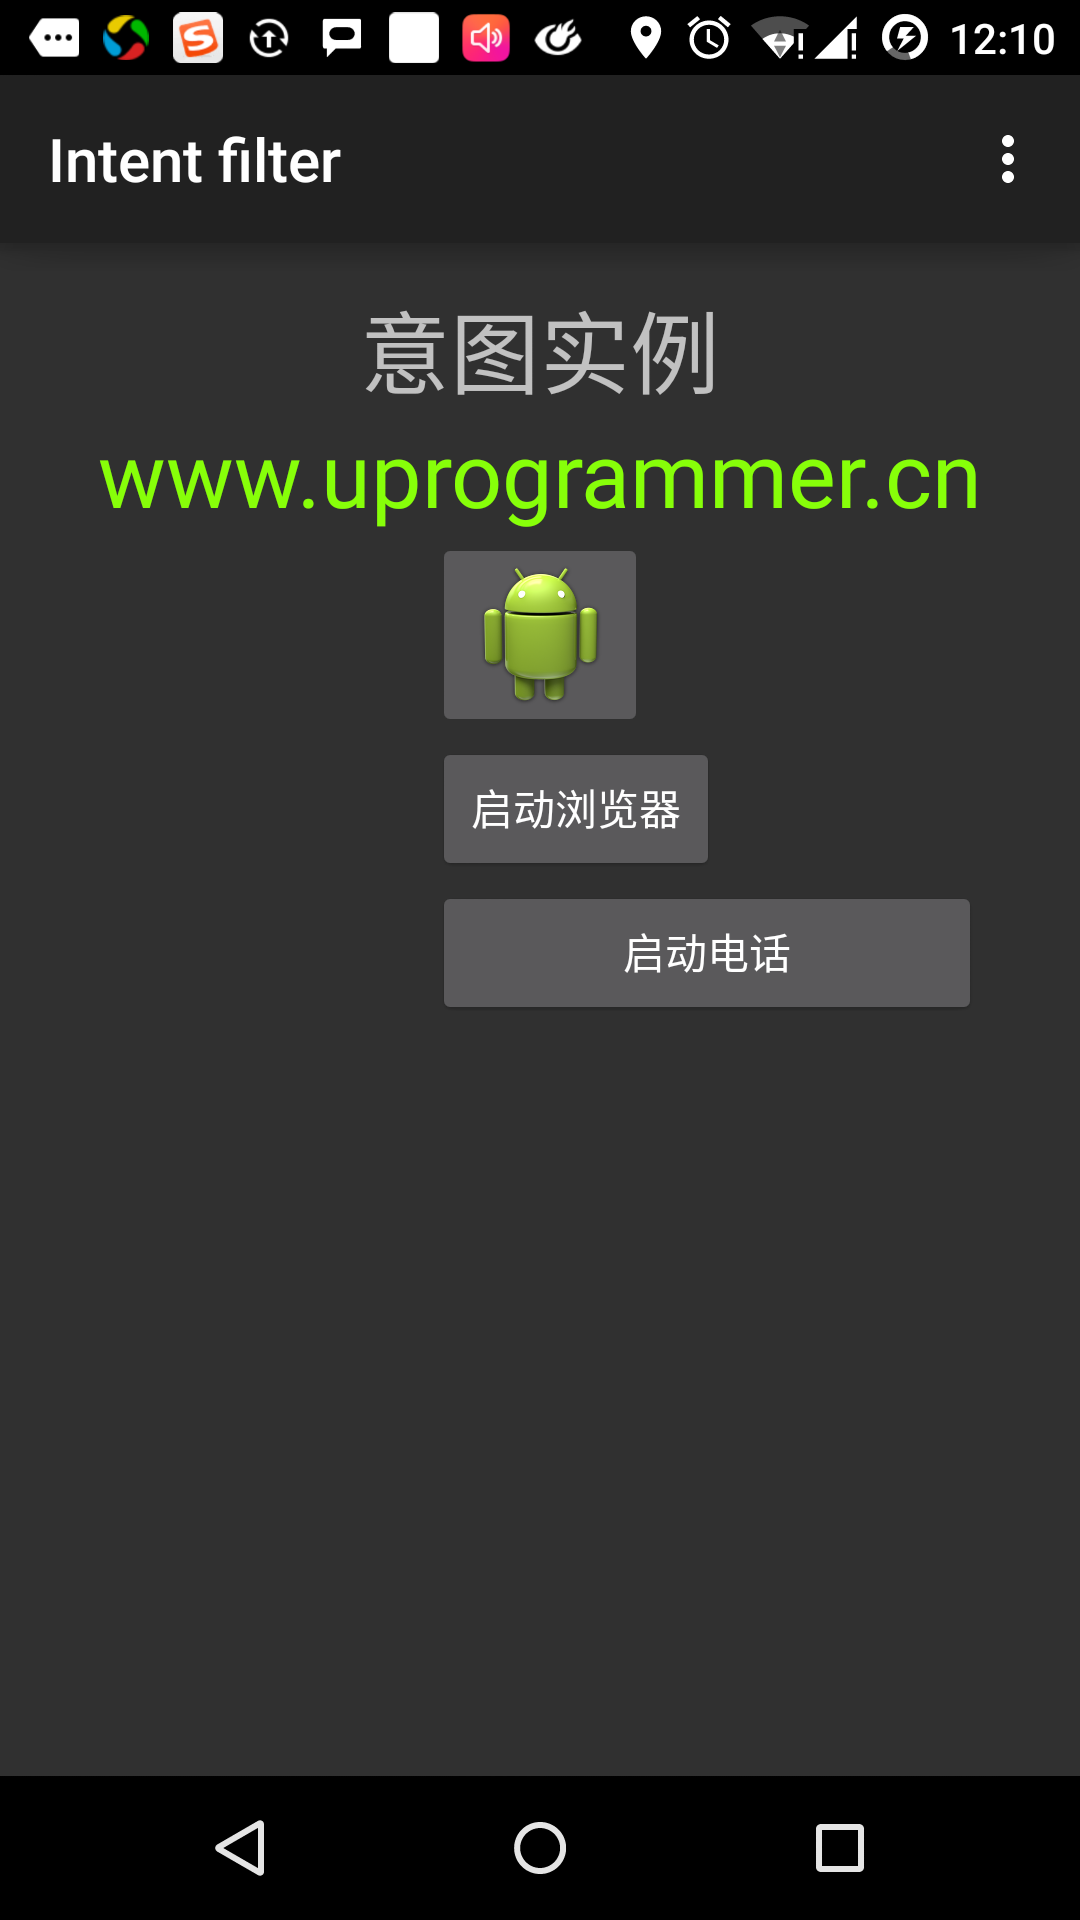
</manifest> ちょうど変更されたインテントフィルタアプリケーションを実行してみましょう。 私は、インストール環境中にAVDを作成したと仮定します。 アクティブなファイルでプロジェクトを開き、ツールバーのをクリック  アンドロイドStudioでアプリケーションを実行するためのアイコン。 Androidのメーカーは、AVD上でアプリケーションをインストールし、それを開始します。 すべてがうまくいけば、次のようにエミュレータウィンドウに表示されます。
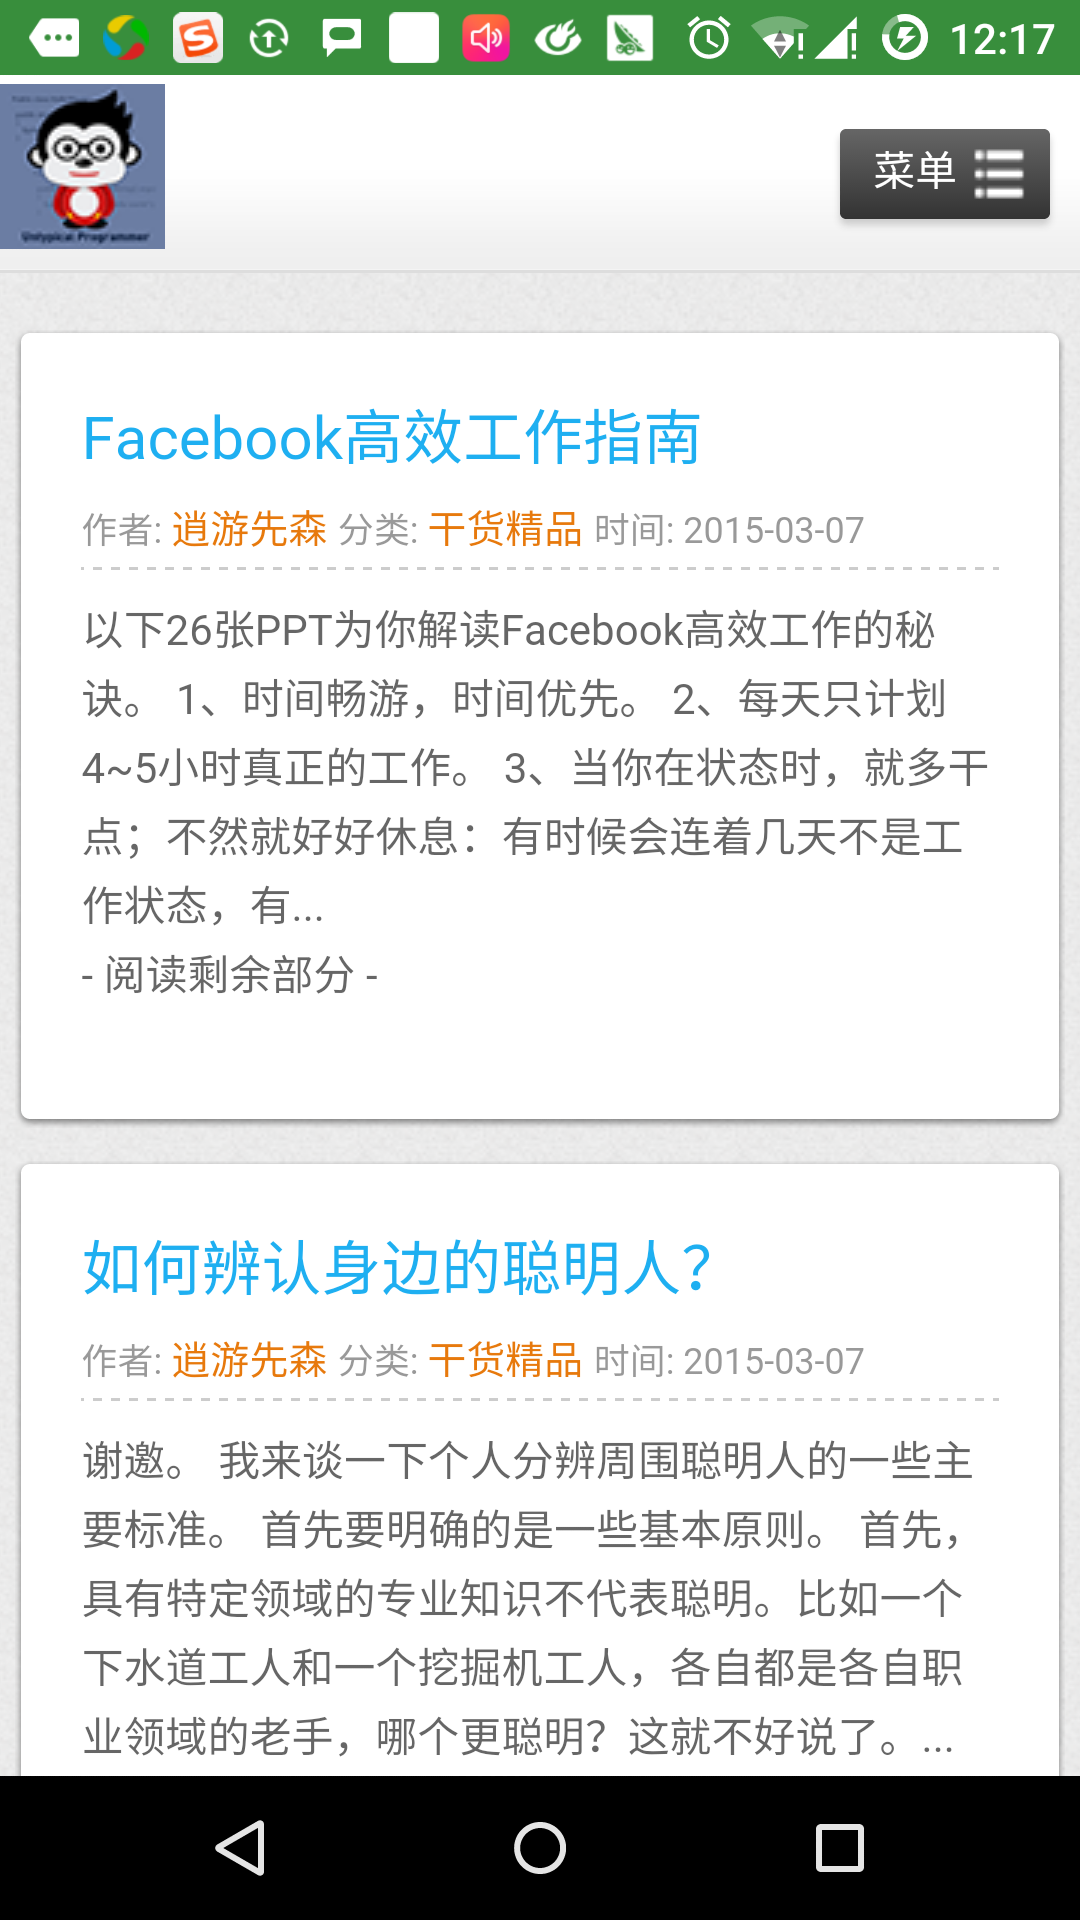
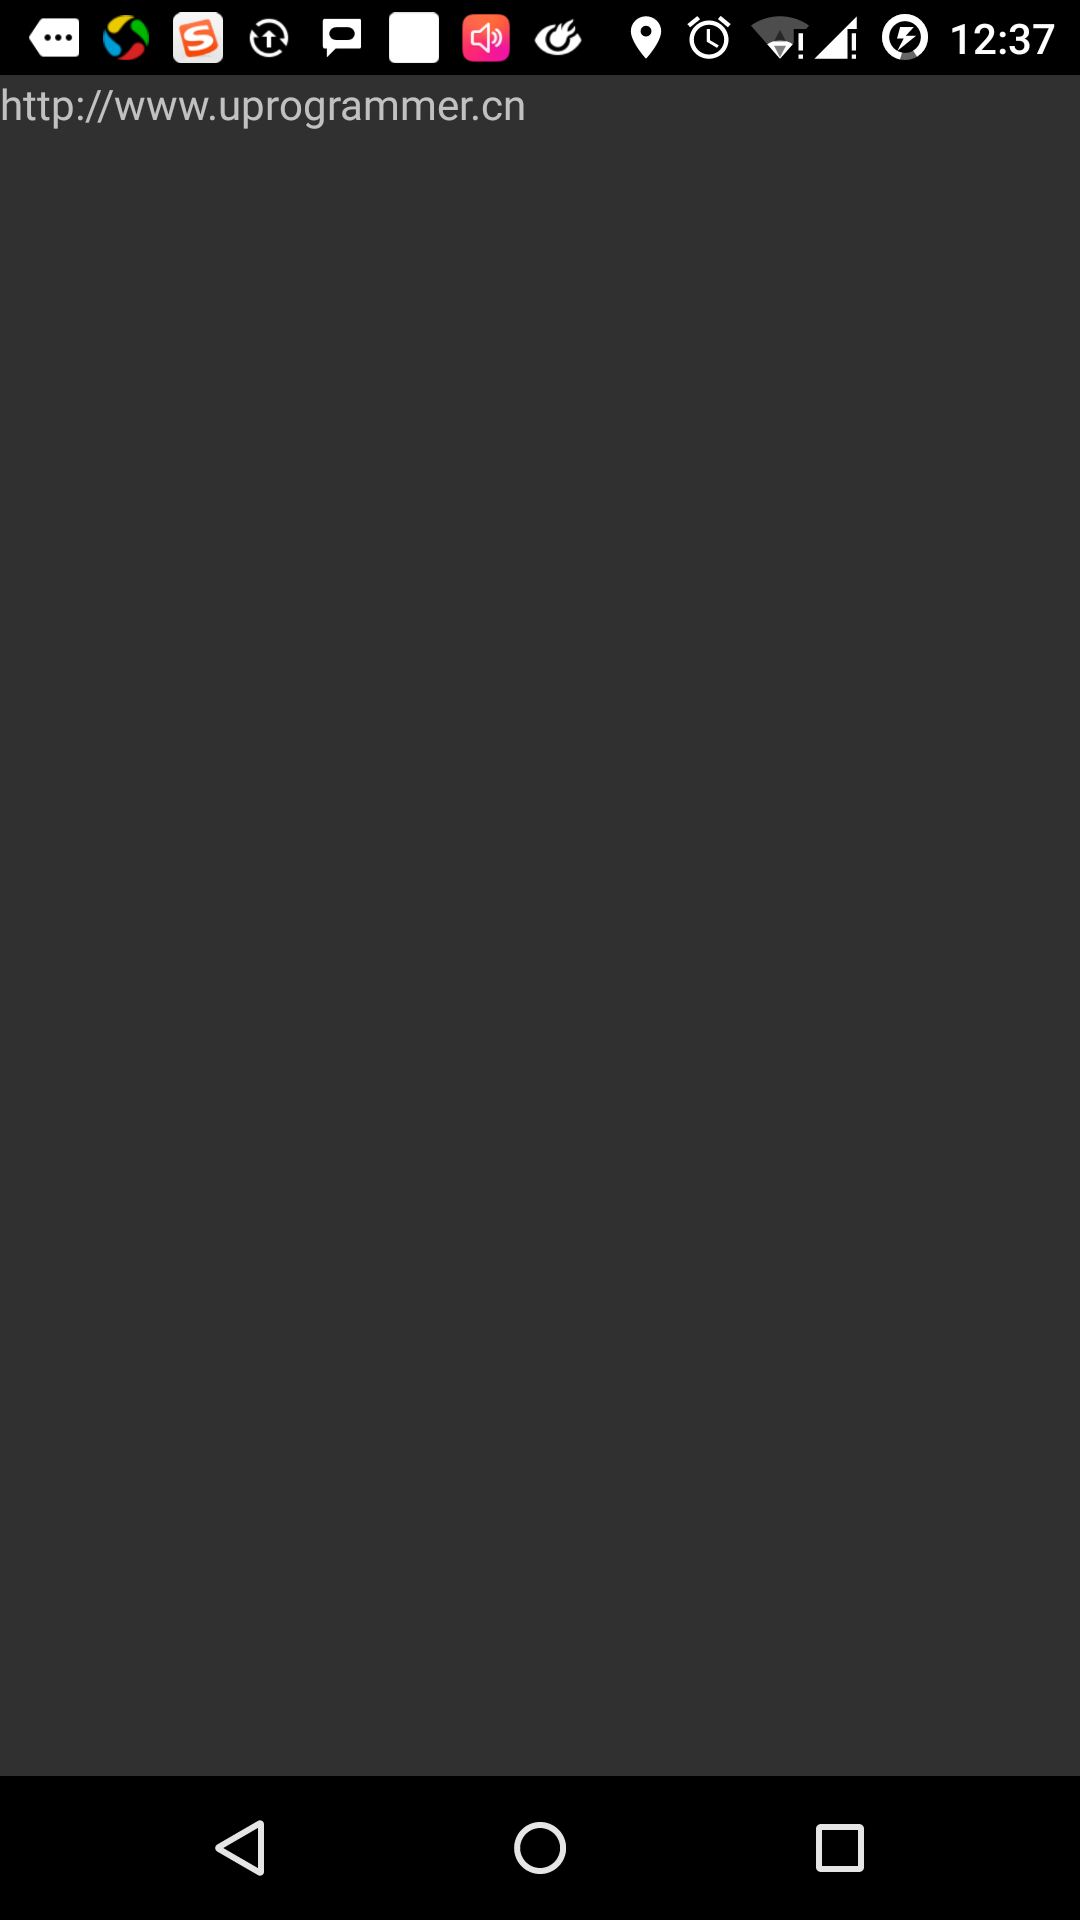
今、ブラウザを起動設定に応じて、以下のようにhttp://www.uprogrammer.cn表示されます「ブラウザを起動」ボタン、をクリックしてください:
同様に、あなたは電話番号が与えられているダイヤルすることができます電話インターフェイスを開くには、「スタートコール」ボタンをクリックすることができます。
インテントフィルタ
あなたは別のアクティビティを呼び出すために意図を使用する方法を見てきました。 Androidオペレーティングシステムは、活動の範囲を指定するには、フィルタを使用するサービス、およびブロードキャストレシーバは意図を扱う、意図指定されたアクションカテゴリ、データパターンの助けを必要としています。 活動、サービス、および放送受信機におけるマニフェスト対応するアクションに記載されているファイル、カテゴリ、およびデータ・タイプの<意図フィルタ>要素を使用します。
次の例では、カテゴリとデータコールを設定することができるアクティブcn.uprogrammer.intentfilter.CustomActivityの作用によって指定されたAndroidManifest.xmlファイルの一部を示しています。
<activity android:name=".CustomActivity"
   android:label="@string/app_name">

   <intent-filter>
      <action android:name="android.intent.action.VIEW" />
      <action android:name="com.example.MyApplication.LAUNCH" />
      <category android:name="android.intent.category.DEFAULT" />
      <data android:scheme="http" />
   </intent-filter>

</activity>
アクティビティがフィルタ上に定義されている場合、他の活動は、あなたがこのイベントを起動するには、次の方法を使用することができます。 cn.uprogrammer.intentfilter.LAUNCHアクションを使用し、android.intent.category.DEFAULTカテゴリを提供し、android.intent.action.VIEWを使用してください。
要素は、活動が期待されるデータ・タイプと呼ばれるように指定します。 上記の例は、カスタムアクティビティから所望のデータを「HTTP://」冒頭。
これは、フィルタを介して、ユーザがアセンブリを開始するように要求された複数のアクティビティまたはサービスに配信されることが意図された場合です。 あなたがターゲットコンポーネントが見つからない場合は、例外が発生します。
イベントを呼び出す前に、Androidのチェックテストのシリーズ:
- フィルタ<インテントフィルタ>アクションの一つ以上をリストする必要があり、空にすることはできません。少なくとも一つのフィルタを備え
要素は、それ以外の場合は、すべての意図をブロックします。 複数のアクションが記載されている場合は、Androidのアクションを呼び出す前に、そこに記載されている活動に一致するように試みます。 - フィルタ<意図フィルタ> 0は、1つまたは複数のカテゴリを挙げることができます。 何もカテゴリが言及されていない場合は、このテストを通じてAndroidは述べた複数のカテゴリがある場合、それはテストのタイプによって意図され、各インテントオブジェクトの分類は、カテゴリ内のフィルタと一致する必要があります。
- 各 要素は、URIおよびデータタイプ(要素メディアタイプ)を指定することができます。 別のプロパティは、URIの各部分として、がありますスキーム、ホスト、ポート、およびパス。 意図の種類はURIが含まれており、唯一のそのタイプは、テスト部を介してフィルタリストされているデータ・タイプの特定のタイプと一致します。
例
次の例では、上記の例のいくつかの変更が加えられたものです。 カスタムアクティビティを起動するためにフィルタを使用する方法;異常になり、適切なアクティビティを定義する意図がない場合に定義された意図は二つの事象、アンドロイドを呼び出すことがあればここでは、競合を解決する方法について説明します。
| ステップ | 説明 |
|---|---|
| 1 | インテントフィルタという名前のAndroidアプリケーションを作成するには、Android StudioのIDEを使用して、cn.uprogrammer.intentfilterという名前のパッケージ。 プロジェクトを作成すると、そのターゲットSDKを確保し、AndroidのSDKの最新バージョンでコンパイルする高度なAPIを使用します。 |
| 2 | SRC / cn.uprogrammer.intentfilter / MainActivity.javaファイルを変更し、文書で定義されたレイアウトに対応する3つのボタンに3リスナーを定義するためのコードを追加します。 |
| 3 | 別の意図コールすることができます活動を含めることはsrc / cn.uprogrammer.intentfilter / CustomActivity.javaファイルを追加します。 |
| 4 | リニアレイアウトファイルは、3つのボタンが追加のres /レイアウト/ activity_main.xmlを変更します。 |
| 5 | 解像度/ lauout / custom_view.xmlレイアウトファイルを追加し、単に追加 |
| 6 | AndroidManifest.xmlファイルを変更し、カスタムアクティビティを起動することを意図したルールの<意図フィルタ>定義を追加します。 |
| 7 | アプリケーションを実行し、アプリケーションに加えられた変更の結果を確認するためにAndroidのエミュレータを起動します。 |
以下は、ののsrc / cn.uprogrammer.intentfilter / MainActivity.javaの内容です:
package cn.uprogrammer.intentfilter;

import android.content.Intent;
import android.net.Uri;
import android.support.v7.app.ActionBarActivity;
import android.os.Bundle;
import android.view.Menu;
import android.view.MenuItem;
import android.view.View;
import android.widget.Button;


public class MainActivity extends ActionBarActivity {
    Button b1,b2,b3;

    @Override
    protected void onCreate(Bundle savedInstanceState) {
        super.onCreate(savedInstanceState);
        setContentView(R.layout.activity_main);
        b1=(Button)findViewById(R.id.button);

        b1.setOnClickListener(new View.OnClickListener() {

            @Override
            public void onClick(View v) {
                Intent i = new Intent(android.content.Intent.ACTION_VIEW,Uri.parse("http://www.uprogrammer.cn"));
                startActivity(i);
            }
        });

        b2=(Button)findViewById(R.id.button2);
        b2.setOnClickListener(new View.OnClickListener() {

            @Override
            public void onClick(View v) {
                Intent i = new Intent("cn.uprogrammer.intentfilter.LAUNCH",Uri.parse("http://www.uprogrammer.cn"));
                startActivity(i);
            }
        });

        b3=(Button)findViewById(R.id.button3);
        b3.setOnClickListener(new View.OnClickListener() {

            @Override
            public void onClick(View v) {
                Intent i = new Intent("cn.uprogrammer.intentfilter.LAUNCH",Uri.parse("https://www.uprogrammer.cn"));
                startActivity(i);
            }
        });
    }

    @Override
    public boolean onCreateOptionsMenu(Menu menu) {
        // Inflate the menu; this adds items to the action bar if it is present.
        getMenuInflater().inflate(R.menu.menu_main, menu);
        return true;
    }

    @Override
    public boolean onOptionsItemSelected(MenuItem item) {
        // Handle action bar item clicks here. The action bar will
        // automatically handle clicks on the Home/Up button, so long
        // as you specify a parent activity in AndroidManifest.xml.

        int id = item.getItemId();

        //noinspection SimplifiableIfStatement
        if (id == R.id.action_settings) {
            return true;
        }
        return super.onOptionsItemSelected(item);
    }
}
ここでの何のsrc / cn.uprogrammer.intentfilter / CustomActivity.javaです:
package cn.uprogrammer.intentfilter;

import android.app.Activity;
        import android.net.Uri;
        import android.os.Bundle;
        import android.widget.TextView;

public class CustomActivity extends Activity {
    @Override
    public void onCreate(Bundle savedInstanceState) {
        super.onCreate(savedInstanceState);
        setContentView(R.layout.custom_view);
        TextView label = (TextView) findViewById(R.id.show_data);
        Uri url = getIntent().getData();
        label.setText(url.toString());
    }
}
ここでの解像度/レイアウト/ activity_main.xmlの内容は次のとおりです。
<RelativeLayout xmlns:android="http://schemas.android.com/apk/res/android"
    xmlns:tools="http://schemas.android.com/tools"
    android:layout_width="match_parent"
    android:layout_height="match_parent"
    android:paddingLeft="@dimen/activity_horizontal_margin"
    android:paddingRight="@dimen/activity_horizontal_margin"
    android:paddingTop="@dimen/activity_vertical_margin"
    android:paddingBottom="@dimen/activity_vertical_margin"
    tools:context=".MainActivity">

    <TextView
        android:id="@+id/textView1"
        android:layout_width="wrap_content"
        android:layout_height="wrap_content"
        android:text="意图实例"
        android:layout_alignParentTop="true"
        android:layout_centerHorizontal="true"
        android:textSize="30dp" />

    <TextView
        android:id="@+id/textView2"
        android:layout_width="wrap_content"
        android:layout_height="wrap_content"
        android:text="www.uprogrammer.cn"
        android:textColor="#ff87ff09"
        android:textSize="30dp"
        android:layout_below="@+id/textView1"
        android:layout_centerHorizontal="true" />

    <ImageButton
        android:layout_width="wrap_content"
        android:layout_height="wrap_content"
        android:id="@+id/imageButton"
        android:src="@drawable/ic_launcher"
        android:layout_below="@+id/textView2"
        android:layout_centerHorizontal="true" />

    <EditText
        android:layout_width="wrap_content"
        android:layout_height="wrap_content"
        android:id="@+id/editText"
        android:layout_below="@+id/imageButton"
        android:layout_alignRight="@+id/imageButton"
        android:layout_alignEnd="@+id/imageButton" />

    <Button
        android:layout_width="wrap_content"
        android:layout_height="wrap_content"
        android:text="通过View动作启动浏览器"
        android:id="@+id/button"
        android:layout_alignTop="@+id/editText"
        android:layout_alignRight="@+id/textView1"
        android:layout_alignEnd="@+id/textView1"
        android:layout_alignLeft="@+id/imageButton"
        android:layout_alignStart="@+id/imageButton" />

    <Button
        android:layout_width="wrap_content"
        android:layout_height="wrap_content"
        android:text="通过Launch动作启动浏览器"
        android:id="@+id/button2"
        android:layout_below="@+id/button"
        android:layout_alignLeft="@+id/button"
        android:layout_alignStart="@+id/button"
        android:layout_alignRight="@+id/textView2"
        android:layout_alignEnd="@+id/textView2" />

    <Button
        android:layout_width="wrap_content"
        android:layout_height="wrap_content"
        android:text="异常情况"
        android:id="@+id/button3"
        android:layout_below="@+id/button2"
        android:layout_alignLeft="@+id/button2"
        android:layout_alignStart="@+id/button2"
        android:layout_alignRight="@+id/textView2"
        android:layout_alignEnd="@+id/textView2" />

</RelativeLayout>
ここでのres /レイアウト/ custom_view.xmlファイルの内容は次のとおりです。
<?xml version="1.0" encoding="utf-8"?>
<LinearLayout xmlns:android="http://schemas.android.com/apk/res/android"
   android:orientation="vertical"
   android:layout_width="fill_parent"
   android:layout_height="fill_parent">

   <TextView android:id="@+id/show_data"
      android:layout_width="fill_parent"
      android:layout_height="400dp"/>

</LinearLayout>
ここでのres /値/のstrings.xmlファイルの内容は次のとおりです。
<?xml version="1.0" encoding="utf-8"?>
<resources>
   <string name="app_name">My Application</string>
   <string name="action_settings">Settings</string>
</resources>
ここでAndroidManifest.xmlファイルの内容は次のとおりです。
<?xml version="1.0" encoding="utf-8"?>
<manifest xmlns:android="http://schemas.android.com/apk/res/android"
package="cn.uprogrammer.intentfilter"
android:versionCode="1"
android:versionName="1.0" >
<uses-sdk
android:minSdkVersion="8"
android:targetSdkVersion="22" />
<application
android:allowBackup="true"
android:icon="@drawable/ic_launcher"
android:label="@string/app_name"
android:theme="@style/Base.Theme.AppCompat" >
<activity
android:name="cn.uprogrammer.intentfilter.MainActivity"
android:label="@string/app_name" >
<intent-filter>
<action android:name="android.intent.action.MAIN" />
<category android:name="android.intent.category.LAUNCHER" />
</intent-filter>
</activity>
<activity android:name="cn.uprogrammer.intentfilter.CustomActivity"
android:label="@string/app_name">
<intent-filter>
<action android:name="android.intent.action.VIEW" />
<action android:name="cn.uprogrammer.intentfilter.LAUNCH" />
<category android:name="android.intent.category.DEFAULT" />
<data android:scheme="http" />
</intent-filter>
</activity>
</application>
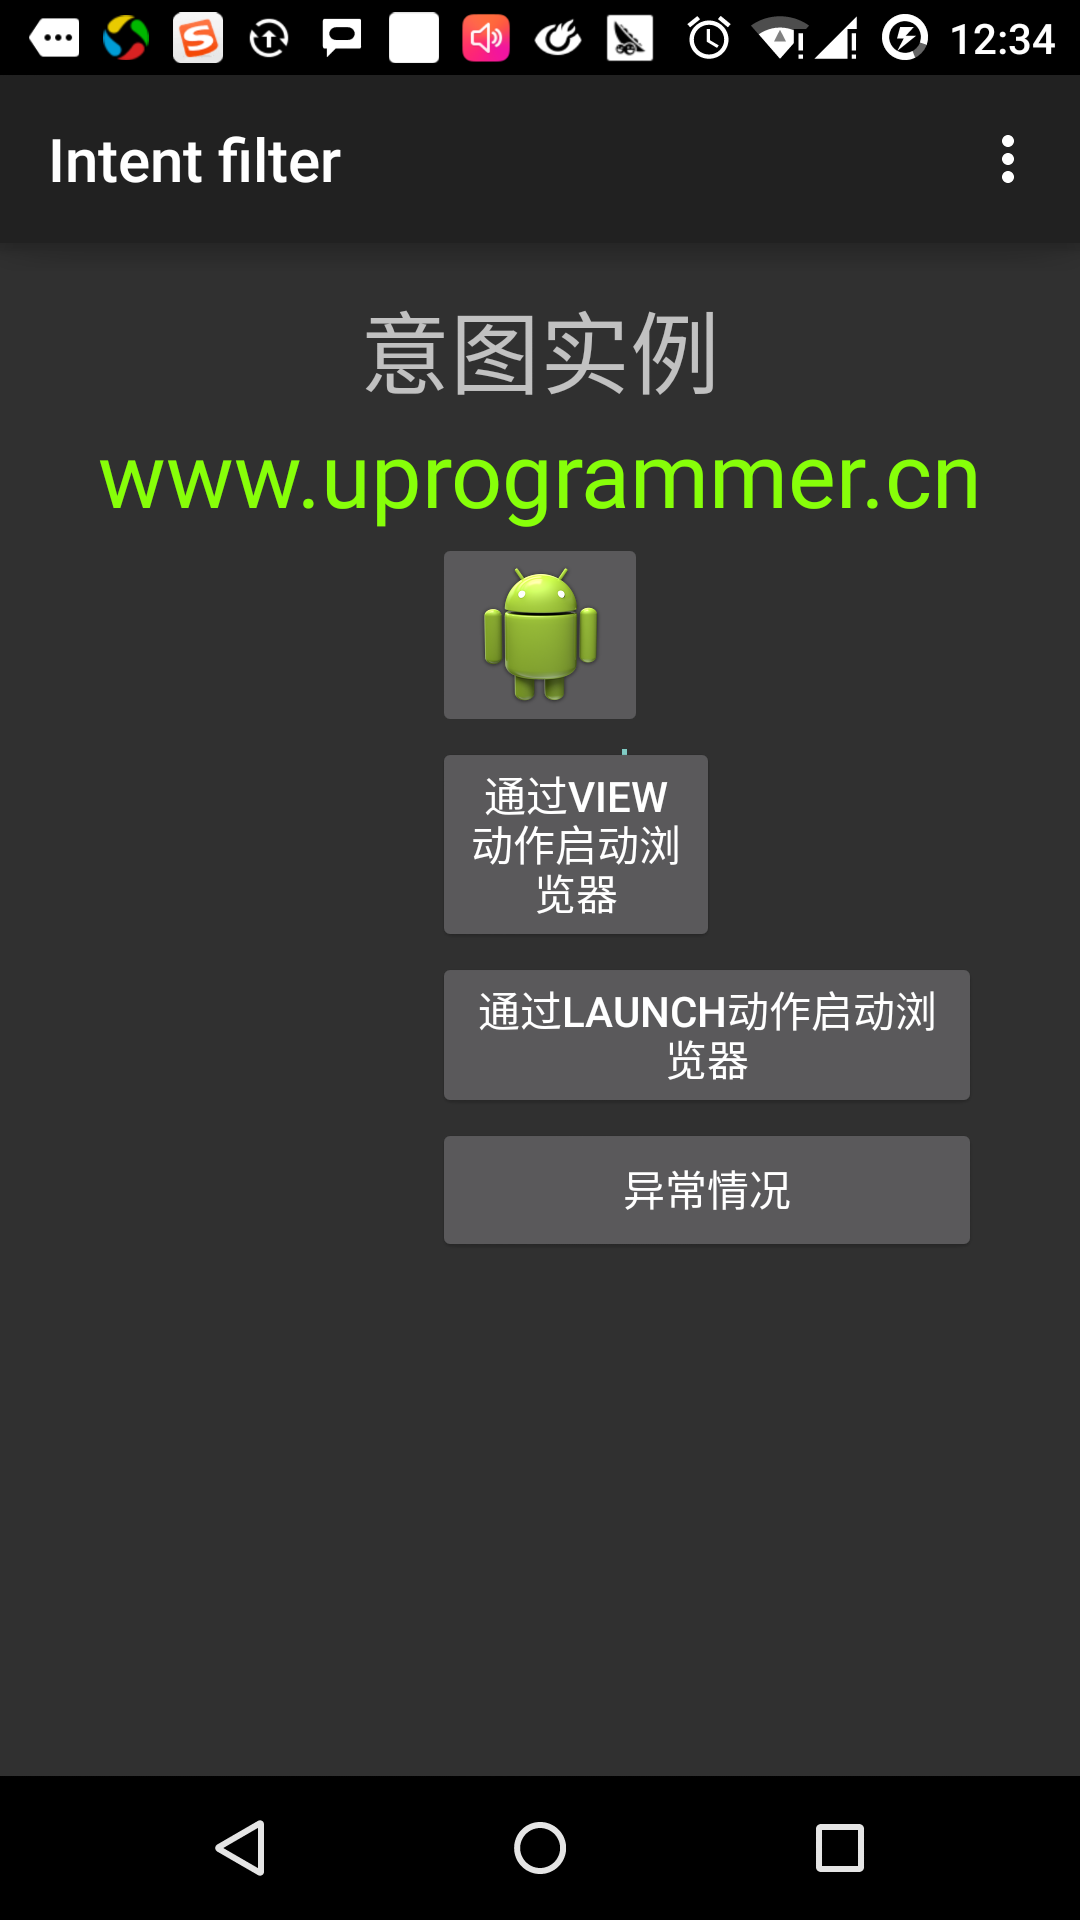
</manifest> ちょうど変更されたインテントフィルタアプリケーションを実行してみましょう。 私は、インストール環境中にAVDを作成したと仮定します。 アクティブなファイルでプロジェクトを開き、ツールバーのをクリック アンドロイドStudioでアプリケーションを実行するためのアイコン。 Androidのメーカーは、AVD上でアプリケーションをインストールし、それを開始します。 すべてがうまくいけば、次のようにエミュレータウィンドウに表示されます。
「ブラウザを起動するには、Viewアクションを使用する。」、最初のボタンをクリックします ここでは、私たちのカスタムアクティビティが「android.intent.action.VIEW "が含まれている定義し、Androidのシステムは、Webブラウザを起動するためにデフォルトのアクティブビューのアクションに対応するように定義されている、Androidは開始したいものを選択するには、次のオプションが表示されますアクティビティ:
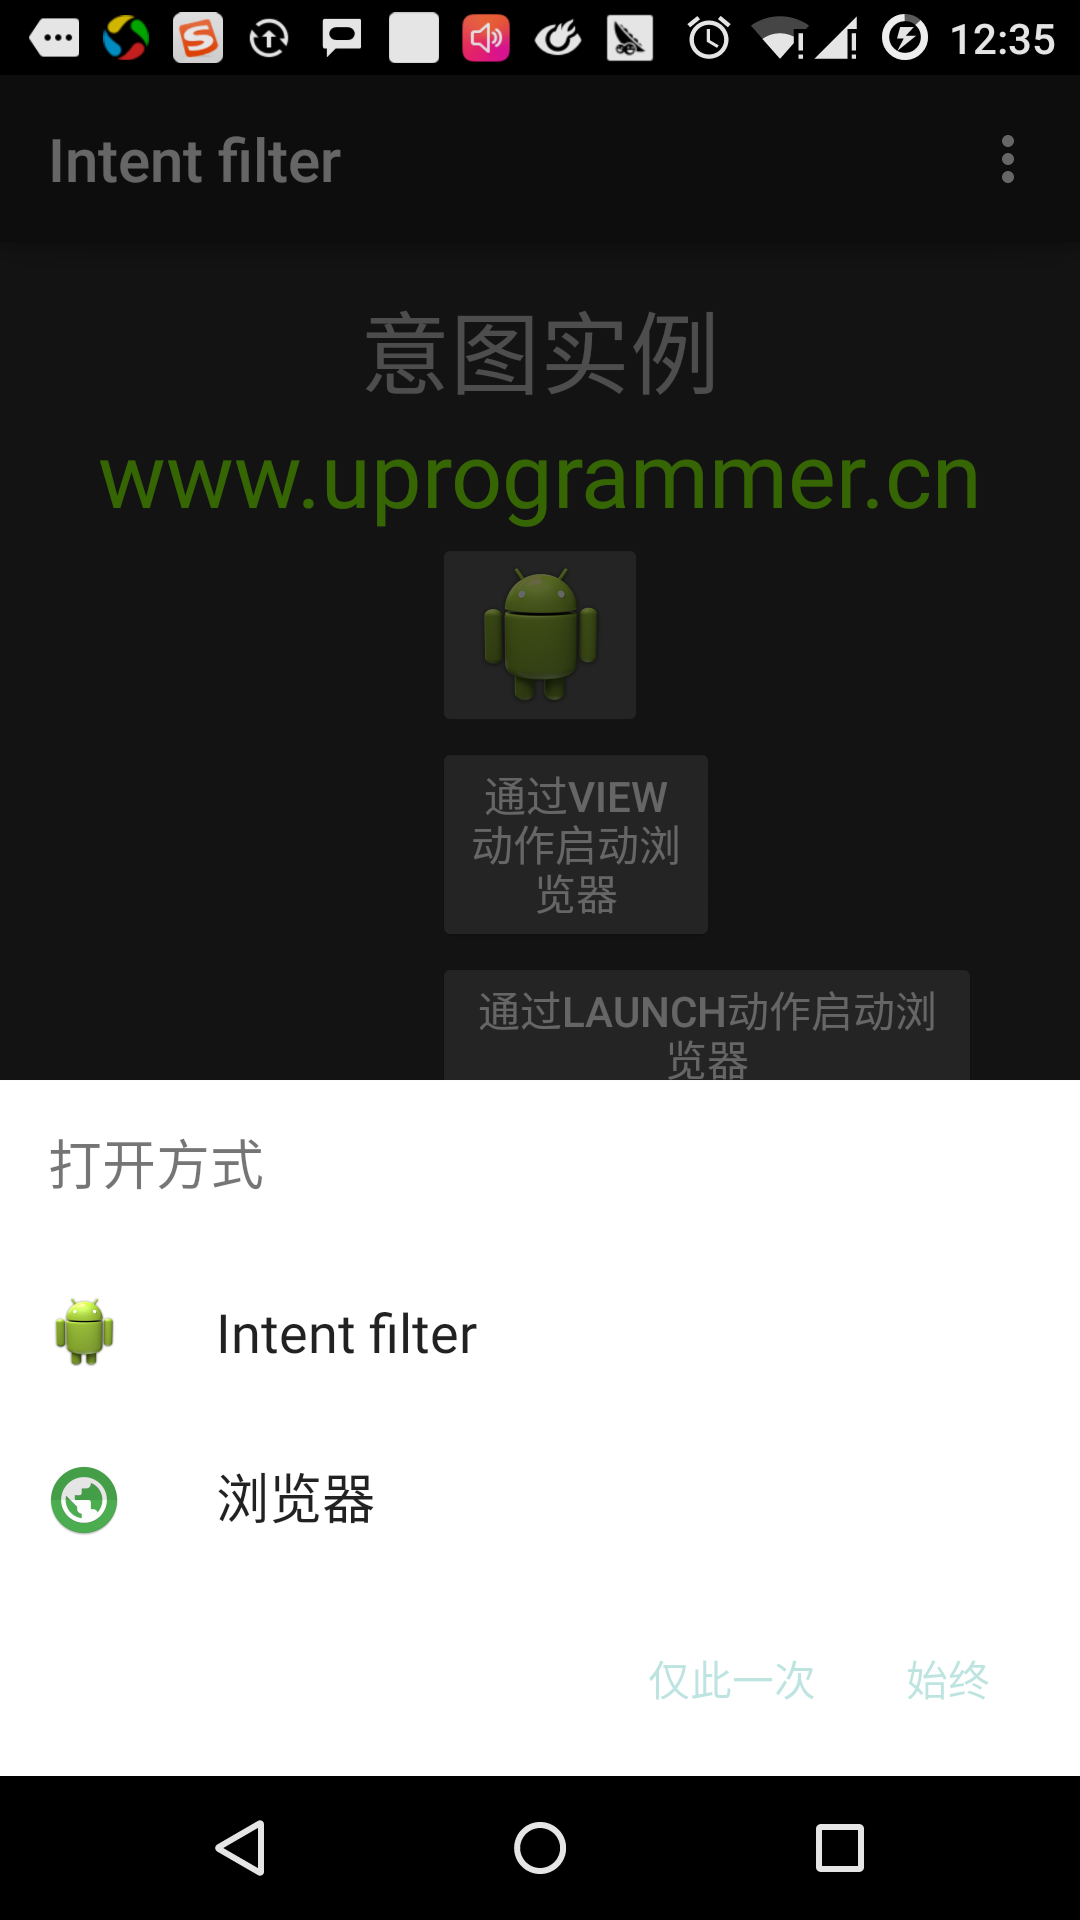
ブラウザを選択した場合は、AndroidのWebブラウザとオープンwww.uprogrammer.cnのウェブサイトを起動します。 あなたはIntentDemoオプションを選択した場合、AndroidはCustomActivityを開始する、イベントだけのTextViewに渡されたデータをキャプチャして表示し、何もしませんでした。
さて、戻るボタンを介してAndroidが定義されたアクティビティを選択して、単純にカスタム活動を開始するためにフィルタを適用ボタン、「ブラウザを起動して起動アクション」をクリックします。
ここでもAndroidの意図は効果的なフィルタによって与えられたものを見つけるためにしようと、戻って、「例外条件」ボタンをクリックし、[戻る]ボタンを使用しますが、効果的な活動の定義を見つけることができませんでした。 私たちはHTTPデータの代わりにhttpsを使用し、正しい行動を与えられたので、Androidの後に例外を発生させます。 次のように: