transition débris Android
Lollipop (Android 5.0) et des fragments de transition active basée sur une certaine fonctionnalité relativement nouvelle Android appelée transition. Dans KitKat introduit, cadre transitoire fournit un ensemble d'API pour fournir des animations pratiques entre différents état de l'application de l'interface utilisateur. Ce cadre construit autour de deux concepts clés: scènes et transitions. Scène définit l'interface d'application donné Etat, une transition définit le changement d'animation entre deux scènes.
Quand un changement de scène, la transition a deux responsabilités principales:
- début de capture et à la fin de chaque vue de la scène de l'État
- Créer un animateurs (Animator), sur la base d'une scène à une autre nécessite une vue animation différente.
Exemples
Cet exemple explique comment utiliser les pièces de transition pour créer des animations personnalisées. Suivons les étapes suivantes pour commencer:
| étape | description |
|---|---|
| 1 | Utilisez Android Studio pour créer une application Android, appelé Fragment Animation personnalisée, package nommé cn.uprogrammer.fragmentcustomanimation. |
| 2 | Modifier le fichier res / layout / activity_main.xml, ajoutez un TextView |
| 3 | Créer fragment_stack.xml dans res / layout / sous fichier de mise en page, définir les étiquettes des boutons et des fragments d'étiquettes |
| 4 | Créer des sous-anim dans res / sous et ajouter fragment_slide_left.xml, fragment_slide_left_exit.xml, fragment_slide_right_exit.xml et fragment_slide_left_enter.xml |
| 5 | MainActivity.java besoin d'ajouter des morceaux dans la pile, la gestion des débris et onCreateView () |
| 6 | Lancez l'émulateur Android pour exécuter l'application et de vérifier les résultats des modifications apportées à l'application. |
Ce qui suit est le contenu de la mise en page res fichier / / activity_main.xml, qui contient une disposition de cadre et les boutons.
<?xml version="1.0" encoding="utf-8"?>
<LinearLayout
    xmlns:android="http://schemas.android.com/apk/res/android"
    android:layout_width="match_parent"
    android:layout_height="match_parent"
    android:orientation="vertical" >

    <FrameLayout
        android:id="@+id/fragment1"
        android:layout_width="match_parent"
        android:layout_height="0dp"
        android:layout_weight="1" />

    <Button
        android:id="@+id/new_fragment"
        android:layout_width="wrap_content"
        android:layout_height="wrap_content"
        android:text="添加新碎片" />

</LinearLayout>
Ce qui suit sont les res / anim / fichier fragment_stack.xml:
<?xml version="1.0" encoding="utf-8"?>
<LinearLayout xmlns:android="http://schemas.android.com/apk/res/android"
    android:orientation="vertical" android:layout_width="match_parent"
    android:layout_height="match_parent">
    <TextView
        android:id="@+id/text"
        android:layout_width="match_parent"
        android:layout_height="match_parent"
        android:gravity="center"/>
</LinearLayout>
Ce qui suit est le contenu du fichier res / animateur / de fragment_slide_left_enter.xml, qui contient la méthode des paramètres et des animateurs objet étiquette.
<?xml version="1.0" encoding="utf-8"?>
<set xmlns:android="http://schemas.android.com/apk/res/android">
    <objectAnimator
        android:interpolator="@android:interpolator/decelerate_quint"
        android:valueFrom="100dp" android:valueTo="0dp"
        android:valueType="floatType"
        android:propertyName="translationX"
        android:duration="@android:integer/config_mediumAnimTime" />

    <objectAnimator
        android:interpolator="@android:interpolator/decelerate_quint"
        android:valueFrom="0.0" android:valueTo="1.0"
        android:valueType="floatType"
        android:propertyName="alpha"
        android:duration="@android:integer/config_mediumAnimTime" />
</set>
Ce qui suit est le contenu du fichier res / animateur / de fragment_slide_left_exit.xml, qui contient la méthode des paramètres et des animateurs objet étiquette.
<?xml version="1.0" encoding="utf-8"?>
<set xmlns:android="http://schemas.android.com/apk/res/android">
    <objectAnimator
        android:interpolator="@android:interpolator/decelerate_quint"
        android:valueFrom="0dp" android:valueTo="-100dp"
        android:valueType="floatType"
        android:propertyName="translationX"
        android:duration="@android:integer/config_mediumAnimTime" />

    <objectAnimator
        android:interpolator="@android:interpolator/decelerate_quint"
        android:valueFrom="1.0" android:valueTo="0.0"
        android:valueType="floatType"
        android:propertyName="alpha"
        android:duration="@android:integer/config_mediumAnimTime" />
</set>
Ce qui suit est le contenu du fichier res / animateur / de fragment_slide_right_enter.xml, qui contient la méthode des paramètres et des animateurs objet étiquette.
<?xml version="1.0" encoding="utf-8"?>
<set xmlns:android="http://schemas.android.com/apk/res/android">
    <objectAnimator
        android:interpolator="@android:interpolator/decelerate_quint"
        android:valueFrom="-100dp" android:valueTo="0dp"
        android:valueType="floatType"
        android:propertyName="translationX"
        android:duration="@android:integer/config_mediumAnimTime" />

    <objectAnimator
        android:interpolator="@android:interpolator/decelerate_quint"
        android:valueFrom="0.0" android:valueTo="1.0"
        android:valueType="floatType"
        android:propertyName="alpha"
        android:duration="@android:integer/config_mediumAnimTime" />
</set>
Ce qui suit est le contenu du fichier res / animateur / de fragment_slide_right_exit.xml, qui contient la méthode des paramètres et des animateurs objet étiquette.
<?xml version="1.0" encoding="utf-8"?>
<set xmlns:android="http://schemas.android.com/apk/res/android">
    <objectAnimator
        android:interpolator="@android:interpolator/decelerate_quint"
        android:valueFrom="0dp" android:valueTo="100dp"
        android:valueType="floatType"
        android:propertyName="translationX"
        android:duration="@android:integer/config_mediumAnimTime" />

    <objectAnimator
        android:interpolator="@android:interpolator/decelerate_quint"
        android:valueFrom="1.0" android:valueTo="0.0"
        android:valueType="floatType"
        android:propertyName="alpha"
        android:duration="@android:integer/config_mediumAnimTime" />
</set>
Ce qui suit est le contenu de src cn.uprogrammer.fragmentcustomanimation fichier / / de MainActivity.java contient un bouton d'écoute, CountingFragment et onCreateView ():
package cn.uprogrammer.fragmentcustomanimation;

import android.app.Activity;
import android.app.Fragment;
import android.app.FragmentTransaction;
import android.os.Bundle;

import android.view.LayoutInflater;
import android.view.View;
import android.view.View.OnClickListener;
import android.view.ViewGroup;

import android.widget.Button;
import android.widget.TextView;

/**
 * 演示在碎片事务中使用自定义动画.
 */
public class MainActivity extends Activity {
    int mStackLevel = 1;

    @Override
    protected void onCreate(Bundle savedInstanceState) {
        super.onCreate(savedInstanceState);
        setContentView(R.layout.activity_main);

        Button button = (Button)findViewById(R.id.new_fragment);

        button.setOnClickListener(new OnClickListener() {
            public void onClick(View v) {
                addFragmentToStack();
            }
        });

        if (savedInstanceState == null) {
            // 添加初始碎片
            Fragment newFragment = CountingFragment.newInstance(mStackLevel);
            FragmentTransaction ft = getFragmentManager().beginTransaction();
            ft.add(R.id.fragment1, newFragment).commit();
        }
        else
        {
            mStackLevel = savedInstanceState.getInt("level");
        }
    }

    @Override
    public void onSaveInstanceState(Bundle outState) {
        super.onSaveInstanceState(outState);
        outState.putInt("level", mStackLevel);
    }

    void addFragmentToStack() {
        mStackLevel++;

        // 实例化新的碎片
        Fragment newFragment = CountingFragment.newInstance(mStackLevel);

        // 添加碎片到活动,并将其放入后退栈中
        FragmentTransaction ft = getFragmentManager().beginTransaction();
        ft.setCustomAnimations(R.animator.fragment_slide_left_enter,
                R.animator.fragment_slide_left_exit,
                R.animator.fragment_slide_right_enter,
                R.animator.fragment_slide_right_exit);
        ft.replace(R.id.fragment1, newFragment);
        ft.addToBackStack(null);
        ft.commit();
    }

    public static class CountingFragment extends Fragment {
        int mNum;
        /**
         * 创建CountingFragment的实例,提供"num"作为参数
         */
        static CountingFragment newInstance(int num) {
            CountingFragment f = new CountingFragment();

            Bundle args = new Bundle();
            args.putInt("num", num);
            f.setArguments(args);
            return f;
        }

        /**
         * 在创建时,获取实例的number参数.
         */
        @Override
        public void onCreate(Bundle savedInstanceState) {
            super.onCreate(savedInstanceState);
            mNum = getArguments() != null ? getArguments().getInt("num") : 1;
        }
        /**
         * 碎片的界面仅包含一个TextView,用于显示number
         */
        @Override
        public View onCreateView(LayoutInflater inflater, ViewGroup container,Bundle savedInstanceState) {
            View v = inflater.inflate(R.layout.fragment_stack, container, false);
            View tv = v.findViewById(R.id.text);
            ((TextView)tv).setText("Fragment #" + mNum);
            tv.setBackgroundDrawable(getResources().getDrawable(android.R.drawable.gallery_thumb));
            return v;
        }
    }
}
Ce qui suit est le contenu du fichier AndroidManifest.xml:
<?xml version="1.0" encoding="utf-8"?>
<manifest xmlns:android="http://schemas.android.com/apk/res/android"
package="cn.uprogrammer.fragmentcustomanimation"
android:versionCode="1"
android:versionName="1.0" >
<application
android:allowBackup="true"
android:icon="@drawable/ic_launcher"
android:label="@string/app_name"
android:theme="@style/AppTheme" >
<activity
android:name=".MainActivity"
android:label="@string/app_name" >
<intent-filter>
<action android:name="android.intent.action.MAIN" />
<category android:name="android.intent.category.LAUNCHER" />
</intent-filter>
</activity>
</application>
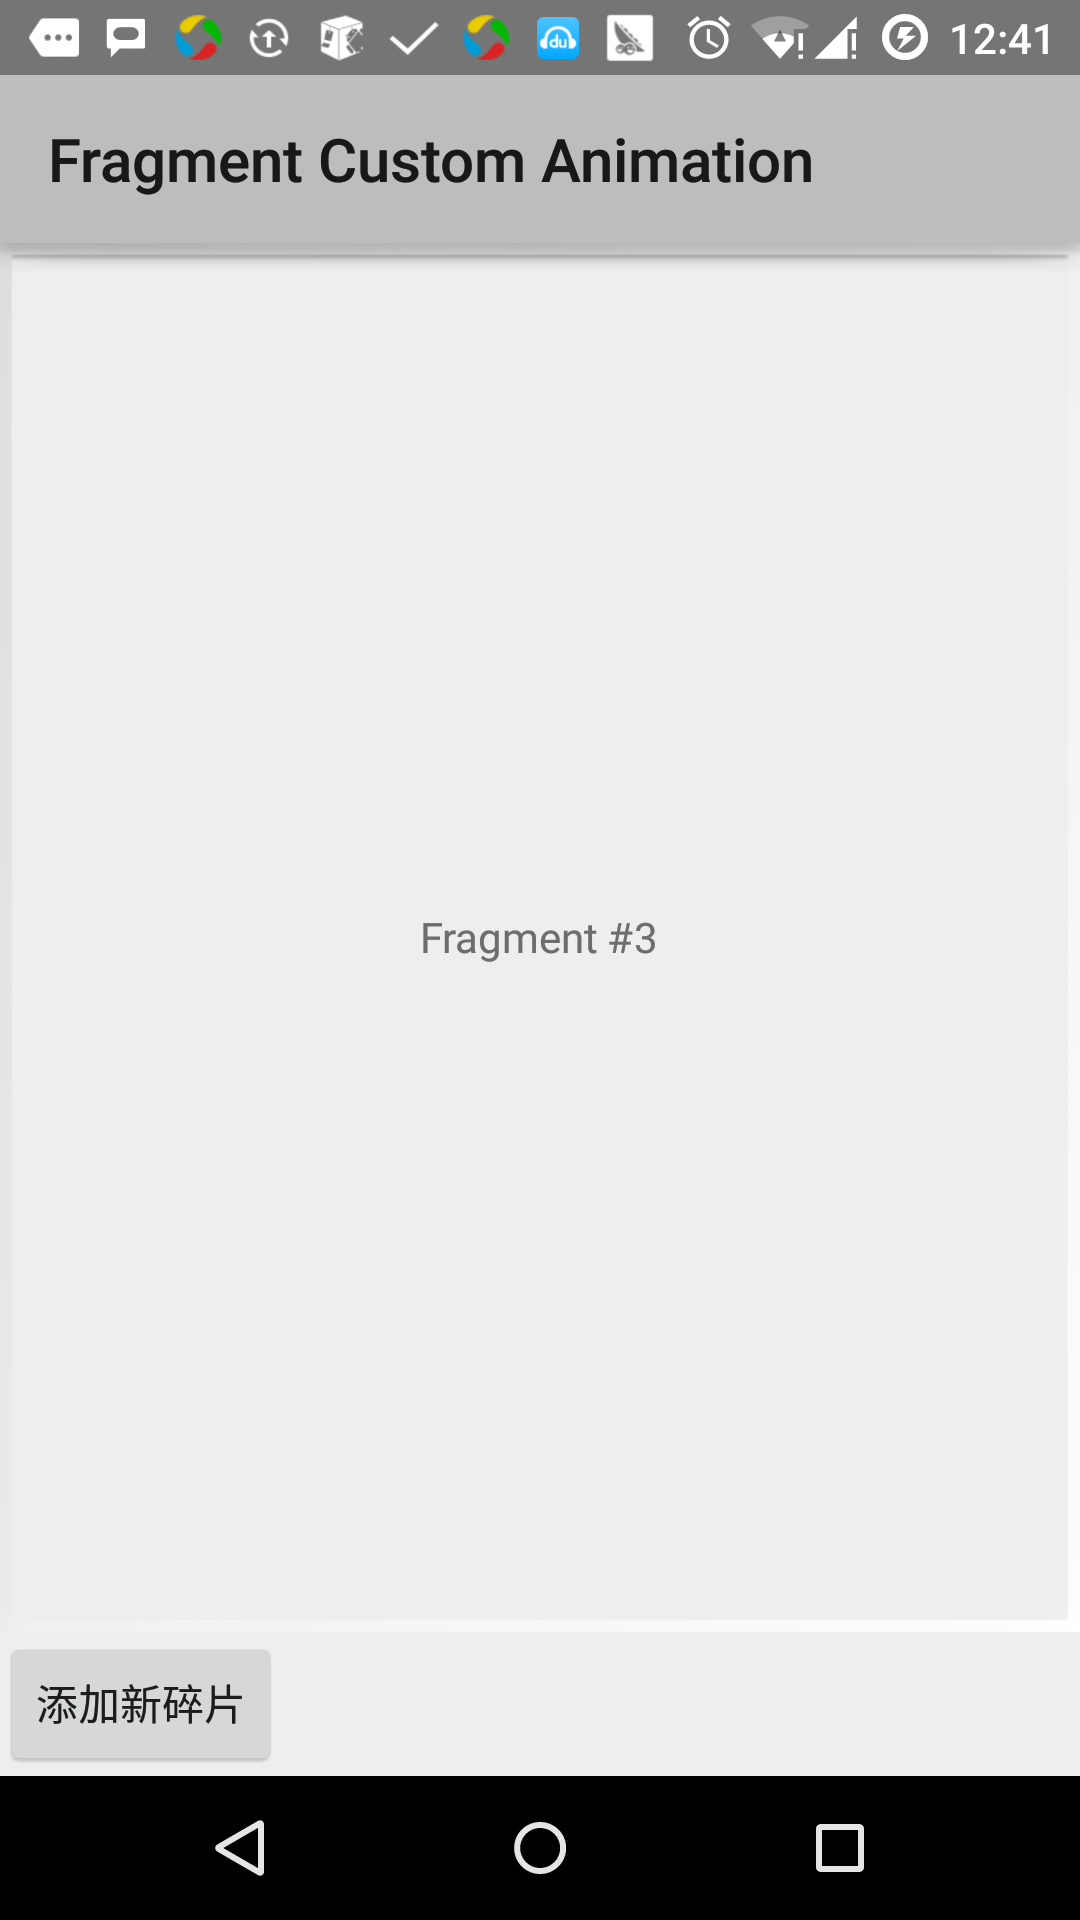
</manifest> Disons simplement exécuter une application modifiée Fragment Animation personnalisée. Je suppose que vous avez créé AVD au cours de l'environnement d'installation. Ouvrez votre projet dans le fichier actif, cliquez sur la barre d'outils  Icône pour exécuter l'application Dans Android Studio. Android studio installer l'application sur la DAV et démarre. Si tout va bien, il sera affiché sur la fenêtre de l'émulateur comme suit: